Cinderella can't hang out in her royal attire all the time. Well maybe she can, but I certainly can't! :) My daughter got a Disney toddler doll for Christmas and she quickly asked me to sew her some other clothes. My first thought was ugh...doll clothes! When I saw that Dressing Up Dolly was going on this month it helped motivate me to follow through on her request, which has been more fun than I thought it would be. I started with some pajamas. You can check out my tutorial for those over here on my blog.
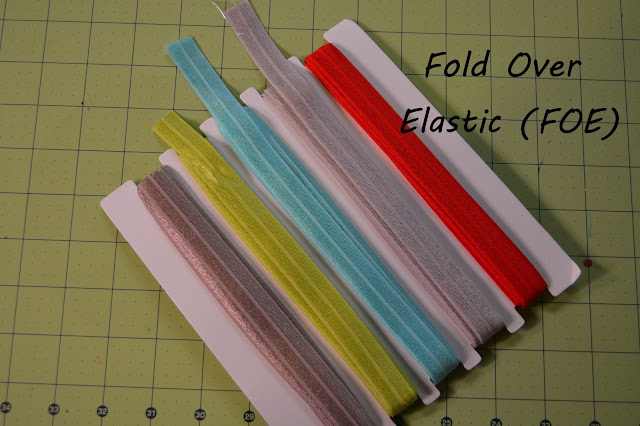
Today though I want to share this casual summer knit dress I made. You can download the pattern here. The dress is very easy to make. One of the things that makes this dress so easy is the FOE (fold over elastic) I use to bind the neck and arms. I love FOE it comes in lots of colors and is just fun!
Okay enough chatting, let's sew. Below are the pieces you'll need for the dress. Besides some knit fabric you'll need 15 1/2" of FOE and 6 1/2" of velcro.
Once you've got your pieces cut out, join the shoulders. I used a 1/4" seam for sewing all my pieces together. I did use my serger to finish the seams but that isn't necessary.
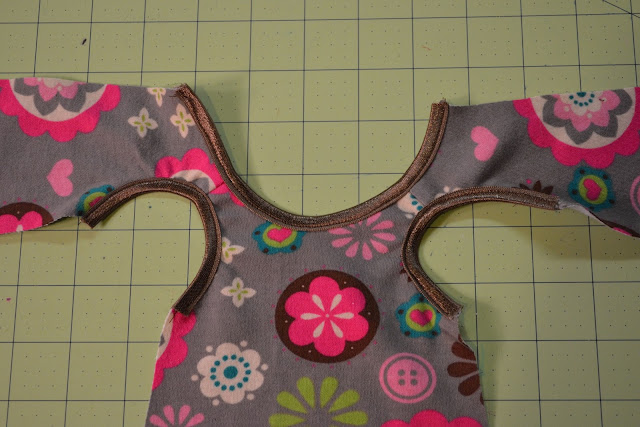
Now attach the fold over elastic. Cut a piece that is 7". I like to find the mid-point of the elastic and pin it in the center of the shirt to help the elastic stretch evenly. The elastic is shorter than the material, and it will gather the neck up as you attach it. Use the center fold of the elastic to help place the fabric. Then sew right along the edge of the fabric to attach it. Next go back and fold the elastic over and enclose the neckline. I didn't take a lot of pictures of this. If you would like some more pictures check out the pajama tutorial I mentioned, it has more pictures of this. Once the neck is done, do the arms the same way. Use a 4 1/4" piece of elastic for each arm.
Here is a look at the dress with the elastic on.
We can now sew the sides of the dress. Again use a 1/4" seam.
Here is the dress once the sides are on.
All that is left now it to attach the velcro! You can use normal width velcro, but I cut my 3/4" velcro in half to make a smaller strip. The width is up to you, however use a length of 6 1/2". Remember one side goes on top and the other goes under like the picture shows. (Also I had just a 6" piece here, but you should add the extra 1/2" so it goes all the way to the bottom.)
Here are some other dresses I made. This pattern could also be shorted into a shirt for more dressing options! :)
Well that's it! I"m glad Cinderella has some more casual clothes! :)


This is adorable, I can't wait to make one. Thanks for sharing :)
ReplyDelete