Wednesday, September 19, 2012

Monkey Pants and craft fair sewing

Fall has gotten off to a busy start around here!  I've been planning to share this outfit for awhile.  The pattern for the pants has been on my "To Sew" list since around the time Carter was born.  The pattern is from the second One Yard Wonder book.  In the book they call them Monkey Leggings but, I think they're pants. It is a very EASY pattern, only 3 pieces and is a quick sew.  I only made one adjustment.  I felt the waist was too high and took it down about 2" which I thought seemed like more natural  fit.  I also made the 6-12 month size which was plenty big for my 13 month old.  


For the shirt I used the flashback skinny tee pattern.  I've used the pattern a few time and have been very pleased with it.  It fits my skinny guy well!  The idea for the outfit came together when I saw this cute monkey fabric at Banberry Place.  Immediately I thought this would be the perfect fabric for trying out the pants pattern.  That is often times how I work.  I catalog patterns that I like and when I see the perfect fabric then I am set! What guides you, the sewing pattern or the fabric?    

  
My husband told me these are pajamas, but I plan on him wearing these during the day.  :)  We like comfort around here! Especially for lounging and watching TV! (I wish he'd watch a little TV to give me a break!  He just likes the remote.)


Which bring me to craft fair sewing.  My favorite part of sewing is trying something new and using fun fabric.  I like to sewing in single units, but once a year I do a craft fair through my husbands work, and it is that time of year!  What I love about doing a craft fair is, well the little bit of extra income first and foremost.  However, I do love the "game", figuring out what people want to buy and what fabrics to choose.  What I don't like is sewing in quantity.  Making 15-20 of something is a bit to repetitious for me, what gets me thorough is the fabric! :)  Do you sew any for money?  I'll share a bit more about what I am making as the fair gets closer.  All the mass sewing leaves me with less time to create all the ideas floating around in my head, but I am planning to do KCWC this year for the first time. Usually I just drool over all the great things everyone makes.  


Here is a look at the back.  That is most of the pictures I get of Carter these days.  He is constantly on the go.  In this instance, the backside was perfect! :)  


 Thanks for visiting, I am so glad your here!

Friday, September 7, 2012

Oh how I love this dress!

Preschool for our house started back up this past Tuesday.  Peyton is now in the 4 year old/pre K room.  She's been attending the same school since she was two, so she knows the drill! :)  The new part is going 5 days a week and also attending a very academic preschool two afternoons a week.  We are busy around here!


 I decided she needed a new dress, any excuse to sew a dress, and I'm in!  I went with another Go To  Signature Dress because well, I love the pattern, and I already had most of the pieces cut out, and if you change just one or two elements in the array of choices the pattern has you've got yourself a totally different dress!


The last time I made this dress I did the capped sleeve with ribbing, this time I decided to just do the capped sleeve with no ribbing.  I still shirred waist, because I just love that I've mastered shirring! My other change was to make the dress longer.  She really wanted her next dress from this pattern to be a maxi but I just couldn't do it!  It didn't seem like it would allow enough movement for school, but what I did do was add 3" to the bottom of the pattern.  Which I really loved, and will probably do from now on!  It reminds me of the length on Land's End dresses, which I like.  On that note.  This fabric was $8/yd and I only need one yard for this size 6 dress.  So with about 2 hours I made a very nice dress that, as I said before reminds me very much of some other places dresses for around a third the price. Does that mean I should make 2 more?!  


I had our ladder out to use for the chalk driveway pictures that were only semi-successful. :)  And she must have climbed up and down it like 20 times, I captured a few interesting shots of her during her little workout. The adorable flowered headband is from Craftiness is Not Optional.  She has some fabulous felt flower tutorials there!
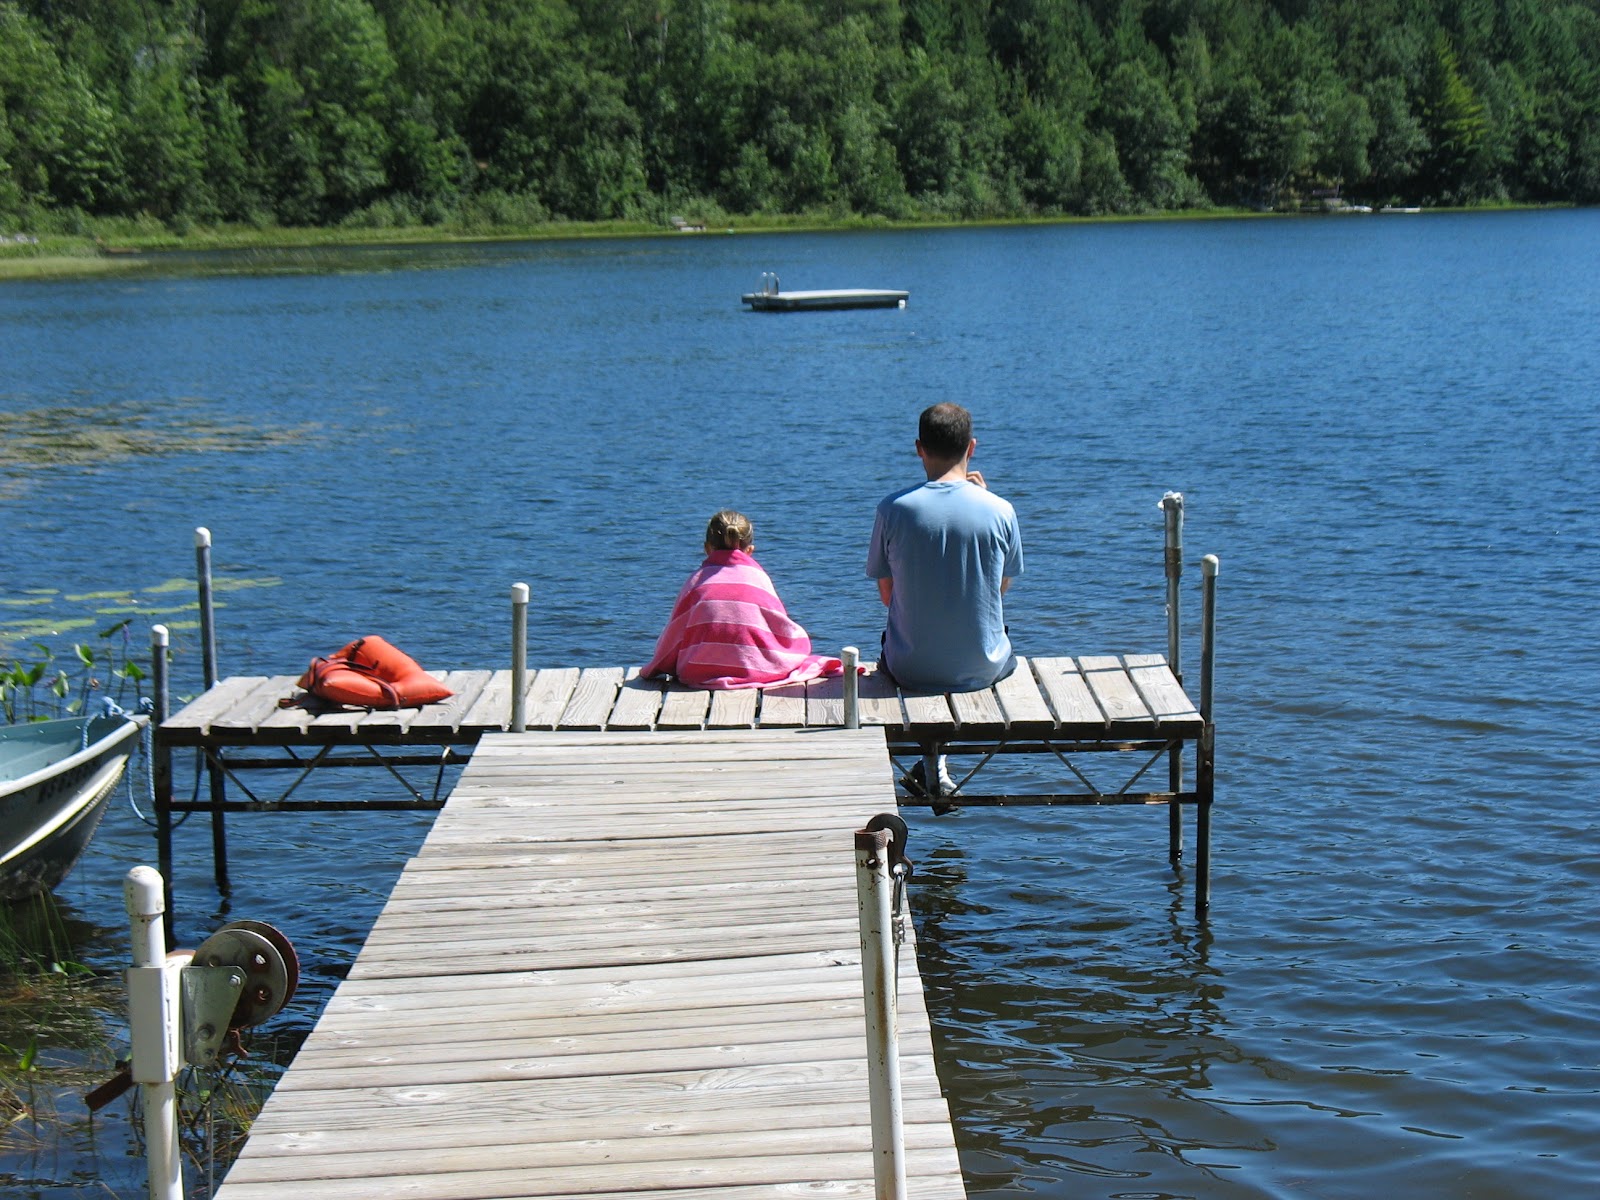

Good luck this year Peyton, Kindergarten will be here before I know it!  Hope you will still want me to sew you dresses for a few more years!


Friday, August 31, 2012

Hair Accessories Organizer Tutorial

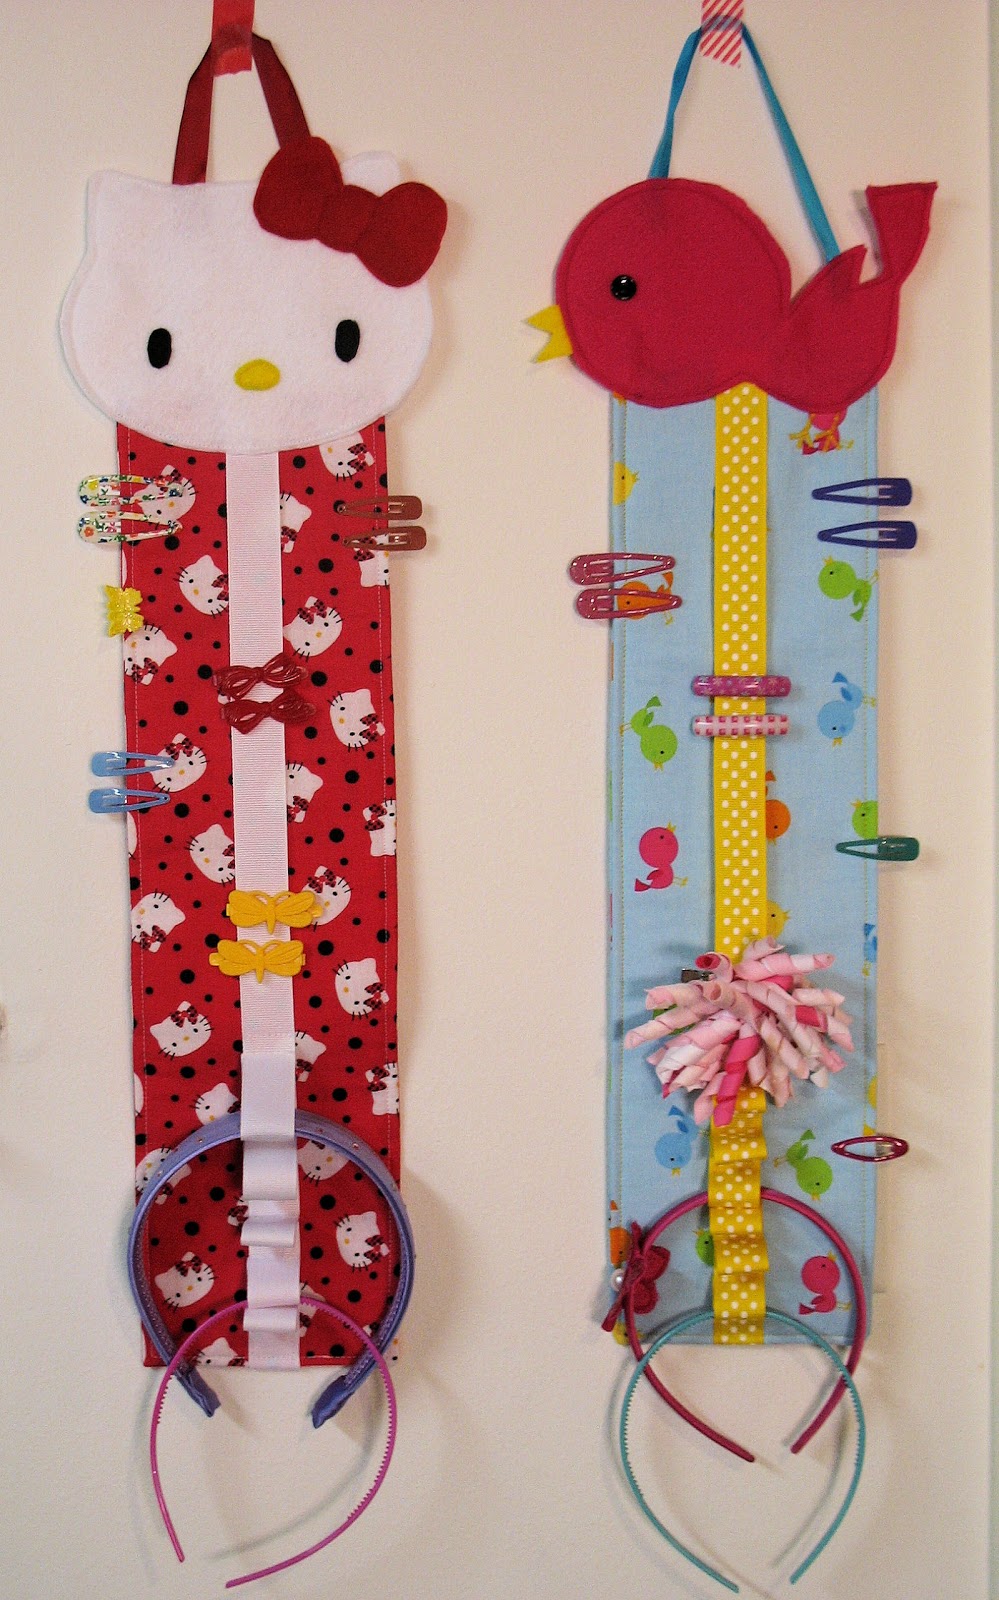
I have my first tutorial today!  I hope you like it!  I've been thinking about something like this for quite awhile.  It was actually easier than I thought! :)  If you have a daughter this might be a great way to clean up the clips and headband clutter.   For this project I decided to make a Hello Kitty and a bird design.  You could do any kind of design or just leave it plain and have a rectangle.  I have provided the templates for the bird HERE and Hello Kitty HERE.


They are nice hangers and hold quite a bit depending on how long you make them.  I decided to make mine 18" long.  Let's get started!

You will need:
a piece of fusible fleece 5" x 18"
2 rectangles of fabric 5 1/2" x 18 1/2"
scraps of felt depending on your top design. (for Hello Kitty you'll need 2 white 9"x12" sheets)
1 button for the bird only
Ribbon: This an estimate because it depends on how many headband loops you make, but 1 yard for the center and then a quarter yard for the hanger part should be enough.


Start by cutting your fusible fleece and main fabric out.

Then iron your fusible fleece onto the back of 1 piece of fabric.  Remember the rougher side (where the glue is) goes away from the iron!  See how by cutting the fleece a bit smaller you have an edge.  This will help with turning and provide a guide when sewing.


Switching over to the ribbon now.  You'll want to decide how many headbands your hanger is going to hold and how big they are.  For the skinny ones make a loop about 1" and sew as shown below. For wider headbands like in the second picture, make the loop about 2".  To determine how long for the ribbon I started with about 30".  That will let you make about 6 loops.  You can always trim off the excess when done.


This is what your ribbon will look like before it is attached.


Then lay the ribbon out on the fabric with the fusible fleece on the back.  Center and pin the ribbon down.  
Now you don't want to sew down the ribbon sides because then you couldn't attach any clips. You just want to baste at the top and bottom of the ribbon and sew across the top and bottom of the headband area as shown below. 


Ignore the top stitching you see in the second picture. I got ahead of myself, luckily I was able to seam rip at the bottom and get the ribbon tucked it! 

You are now ready to put the front and back together. Yeah!
Take the two pieces and pin them together.


Leaving the top open, sew around the other 3 sides using a quarter inch seam width.  


Then trim the corners off and turn right side out. And iron out nice and flat.


We are now ready to attach the top piece.  Cut out your pieces. For Hello Kitty you need the red bow, 3 white face pieces (I'll explain why 3 below), 2 black eyes and 1 yellow nose. 
For the bird (not shown) you'll need 2 of the bird and 1 of the yellow beak.


Here she is!  I then sewed down the eyes and nose.  Don't do the bow yet!  I did and it is a bit tricky to sew everything together, so do it last!!


Here is why I suggest 3 pieces of felt for Hello Kitty.  See in the first picture that is just a front and back, you can see the red underneath.  I added a second top piece under the main one and that looked better.  For the bird or any other dark felt colors I think a front and back is enough.


Now pin it down and don't forget to add in the ribbon for the hanger.  I eyeballed it and made it about 7" long.  For the bird I had to do 9". 


Sew all the way around her face, enclosing the ribbon and bottom hanger part!  Then add the bow at the end.  If you are making the bird use the template to figure out where the eye goes and then sew it on.  I also added little feet with a zig zag stitch for an added touch.  Now you are done!  


Admire your cute work! :)  Then load it up!


 I hope you are inspired to make one!  :)  If you liked this or have a question please leave me a comment!
Thanks!


Monday, August 27, 2012

Sandbox Pants

These pants have been sewn for slightly over a month but I've been waited to post them till Carter was walking.  I think kids just look a bit better in clothes once they are walking, but I'll miss the crawling days.  For me, crawling is just so darn cute!!  He just started walking 90% of the time right before turning 13 months.  Neither of my kids have been early walkers.  When did your little ones start walking?  


Okay, on with the pants.  After seeing some great Oliver + S Sandbox pants in the flickr pool, I decided I needed the pattern and NEEDED to make a pair!  I wasn't exactly sure what I wanted to use for fabric but then I came across some chambray that my grandmother had sent me with some baby sewing patterns this summer.  I liked the weight for late summer and early fall and settled on it.  The acorn fabric is Squirrels and Nuts by David Walker.  I had it in my stash and thought it went well and seemed nice and boyish.  I just love woodland animals for some reason, strange or no?


I choose to not add the drawstring and make them flat front instead.  I prefer them that way.


This is another fabulous Oliver + S pattern the directions were easy to follow and I learned a bit 
too! 


Taking pictures of my new walker was a bit of a challenge!  He took off every time I tried to snap a picture.  Here is a look at the back, the pockets are quite cute.


My only problems was that, once again I overestimated his waist.  I know he is skinny but he's just crazy slim.  I think I should have sewn the waist at the 6-12 mo size rather than the 18-24 mo that he needs in the length!  So they are a bit baggy, just like the shirt.  Hopefully he'll have a growth spurt or he'll just get to wear them for a long time! :)

I am already planning to sew this pattern again, in corduroy, with some size tweaking! :) 


Saturday, August 25, 2012

Vacation Avocation!

I've been absent around here for about a month and that is due to near constant travel!  While it was wonderful; traveling with 2 young kids might be more of a job than just staying put!  :)  We kicked off our travels with a trip to Southern Minnesota to see some of my family and to celebrate my Grandpa's 81st birthday.  Somehow there were very few pictures taken that weekend, I think we were too busy catching up and eating all of the great food my grandma makes!

We spent a week at home and then we headed out to Northern Wisconsin for a week long stay at a cabin with my husbands family.  We had a great time; and while I was hoping to spend much of our week doing this.  


We actually spent most of it doing anything but!  We'll hit the highlights! :)  We took the Spooner train, which was nice but perhaps a bit spendy for what it actually was.  We did get a nice river view where we stopped to turn around.


 We also swam at Shell Lake, it was so rocky on the beach and in the water that my kids spent more time on the playground than in the water!  


A short trip up to Hayward to see a lumberjack show was entertaining too. That wasn't all the driving we did as we also drove up to the Apostle Islands and took a cruise, which would had been much more enjoyable had we not had a crazy little guy with us who did not enjoy being cooped up on a boat for 3 hours!  


We also spent some time walking among the falls at Amnicon State Park.  


Did I mention we saw a wild black bear!  Can you even see it?  :) That was one of my favorite parts.


Okay, so we did relax some.  Peyton went fishing for the first time and caught 11 of the tiniest sunfish I've ever seen.  She was in heaven!  Carter just enjoyed  the outdoors and being dirty.


It was a fun filled week and I really enjoyed the beauty of the north woods.  I did however find my solo trip to Target once home to perhaps be more of a vacation than our trip!  Can anyone relate to that?

We recovered from Wisconsin for a few days then headed down to the Des Moines area to stay with my parents and go to Adventureland.  We hadn't been to the water park park there before and had a great time. Of course we still found time for some rides.  I've been coming here my whole life and love sharing the tradition with the kids.


Gotta love our flat state!  You can see forever at times.


We are now home and getting back into routine.  Preschool starts for Peyton right after Labor Day which will be here soon!  I love fall and really love routine.  Back to school has always been one of my favorite times of the year.  I have some new clothes sewn for Carter that I'll be sharing soon and I think I have even have some tutorials coming!  :)